Arabescato Corchia Wall Panels: Seams, Mirror Lines, and Side Light
One question decides a great deal before any slab is cut: where do Arabescato Corchia wall panels change the finished result rather than only the drawing? Side light can turn a pale marble wall into a moving surface, especially when seams, mirror lines, and grey veins compete for the same attention. I would rather settle the seam positions and the pairing in the first review, while the elevation and the slab allocation can still change. For Arabescato Corchia wall panels, a recorded elevation travels better than a wall divided by whoever lifts the first panel.
Split the elevation before the slab is cut
With Arabescato Corchia wall panels the work starts as an elevation, not as a stack of slabs. Before anything is cut, I want the wall drawn at scale with every seam, return, and edge marked, so the panel sizes follow the architecture rather than the available pieces. The elevation is where I decide how many panels the wall should read as, and where each seam is allowed to fall.
Seam position is a design choice that many projects leave to chance. A joint placed on the centre line of a feature wall will be seen every day; the same joint moved to a natural break, a pilaster, or the edge of a doorway can disappear into the composition. I try to align seams with the architecture and to keep them off the sight line the room is built around.
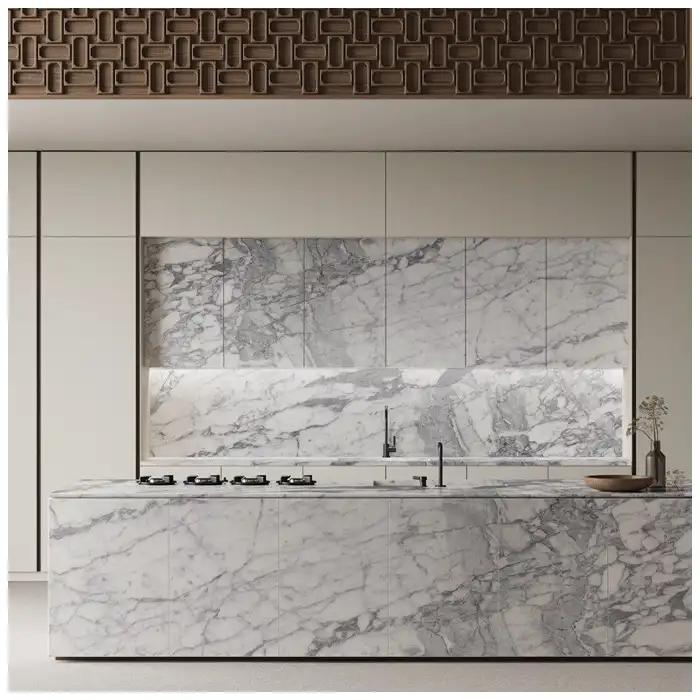
Seams also govern how the movement is read. A vein that crosses a well-placed joint can continue as if the wall were a single sheet, while a careless joint can slice a bold gesture in half. On the elevation I trace the main veins across the proposed cuts, exactly as they appear on the slab photos, and adjust the panel breaks until the movement survives them.
The elevation belongs with the slab map. Once the seams are fixed, the same drawing should show which part of the block each panel comes from, so the pairing and the graining are decided with the seam positions rather than after them. That single document is what I check Arabescato Corchia wall panels against on site.
I also test the count of panels against the wall. Too few large panels can make a tall wall feel heavy and leave little room for adjustment, while too many small ones can turn a single surface into a patchwork. The right number is the one that lets the movement read and still survives the openings and returns that the wall actually has.
Bookmatch, mirror, and the way side light reads a pair
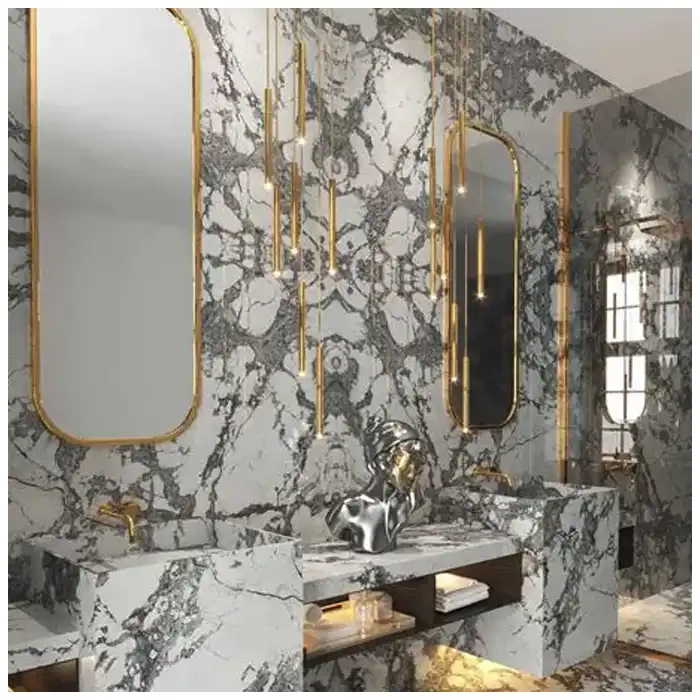
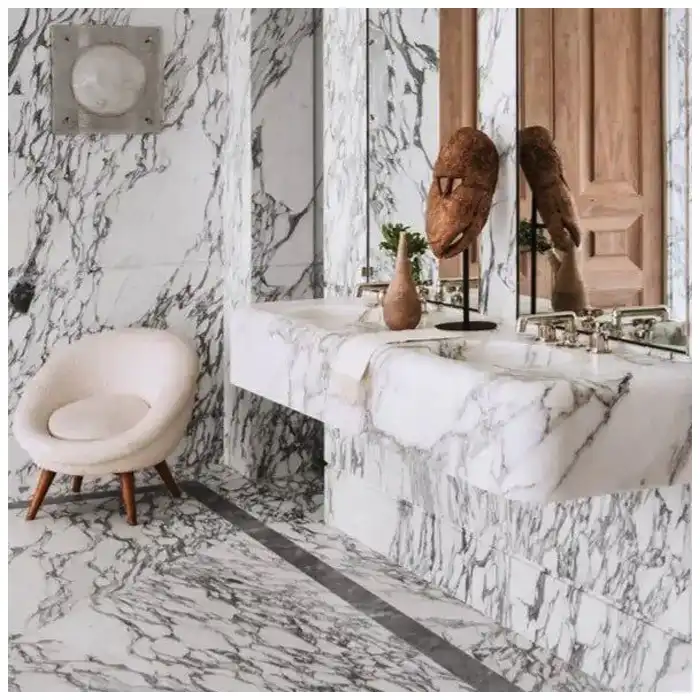
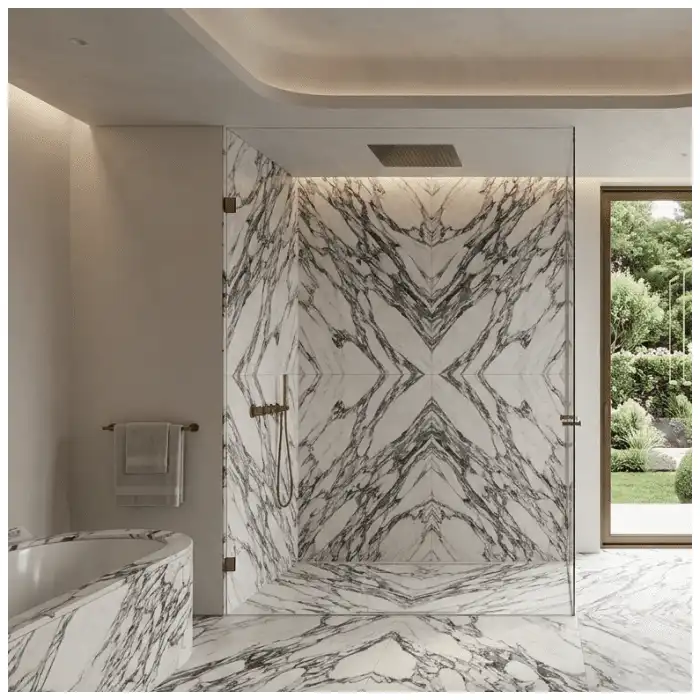
For Arabescato Corchia wall panels, a bookmatch mirrors two adjacent slabs so their veining meets like an open book, and the result depends entirely on the light. Under even light the symmetry can look calm and architectural; under strong side light, one half will fall into shadow and the mirror can read unevenly. I want to see a bookmatched pair where it will actually hang, or at least under light that mimics the room.
A mirror joint is the most demanding seam on a wall. It asks two faces to meet at a reflection line, and any mismatch in colour, fill, or vein spacing shows up immediately along that line. Where the wall is quiet and pale, I would keep the mirror line simple and the adjacent field restrained; where the movement is strong, the line can carry more, because the eye reads it as part of the pattern.
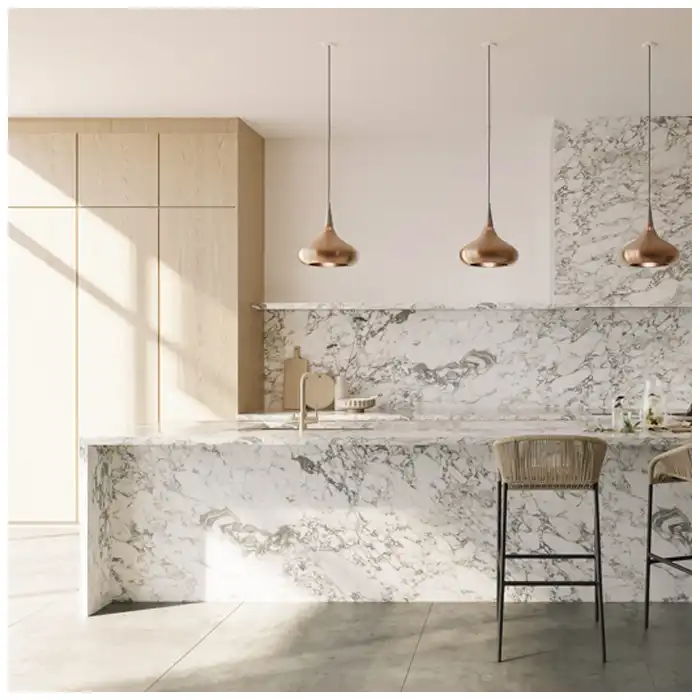
Flow matching is the alternative when symmetry is not wanted. Instead of mirroring, the slabs continue in one direction, so the veins travel across the wall without repeating. It suits a long elevation, a corridor, or a field where a repeated mirror would add too much structure. The choice is not about which is superior; it is about how much symmetry the room can hold.
Whichever route is chosen, the pairing has to be decided from the actual faces. I lay the slab photos, or better the slabs themselves, in the proposed order and check where the veins meet, where the colour shifts, and where a fill sits. That physical sequence, recorded as a numbered diagram, is what the fabricator should follow.
I keep the mirror line honest about its limits. A pair can meet perfectly at the joint and still look unbalanced if one slab carries a dense feature the other does not, and no amount of setting-out will fix that. Choosing a different pair early is almost always better than asking the installer to disguise a mismatch later.
| Review point | What to confirm | Record |
|---|---|---|
| Elevation | Seam positions and panel breaks | Approve the wall drawing at scale |
| Pairing | Bookmatch, mirror, or flow | Number the slabs in order |
| Side light | Finish under raking light | View the sample where the wall is seen |
| Openings | Switch and socket positions | Mark cutouts on the elevation |
The Hard-Won Lesson: A bookmatched pair met light that reversed its reading
A mirror pair can look balanced on a bench and then lose that balance once it is hung. The common version of this problem appears when the pair is approved from a photograph in flat light, and the room later throws strong side light across one half, so the two faces no longer read as a single gesture. The stone is the same; the viewing light changed.
The Lesson: approve a bookmatch where the wall will be seen, under the light the room will keep.
Visual height, joint position, and the wall behind
On Arabescato Corchia wall panels, height and joint position change how tall a wall feels. A joint near a doorway head or a counter line reads as part of the architecture, while a joint floating in the open field draws the eye to an arbitrary level. I set the horizontal breaks against the real elements of the room so the panel sizes feel intended rather than imposed.
Backing and reinforcement matter as much as the face. Large panels need a flat, stable substrate and a fixing method that suits the weight and the format, and any mesh or reinforcement should be planned before the pieces are finished. A wall that is not flat will pull a carefully cut panel out of line, however good the marble is.
The service rough-ins belong on the elevation. Sockets, switches, data points, and any wall light should be located before the panels are cut, so the openings are set out from the seam grid rather than chased into a finished face. I mark each cutout on the drawing and confirm the positions against the electrical setting-out.
Edge conditions on a wall are easy to overlook. A return, a reveal, or an exposed corner needs a finished edge that holds up to touch, and the panel sequence has to allow for it. Where a panel dies into a reveal, I decide the edge profile and the set-out together, so the last piece does not have to be improvised on site.
I also check the wall for movement and services before fixing. A substrate that will shrink, or a cavity that carries pipework or cable, changes the fixing method and sometimes the panel size, so those conditions belong in the review rather than in a late conversation on the scaffold.
I also think about cleaning and access when I set the joint heights. A panel that finishes at a height someone can reach is easier to care for than one that ends where a ledge invites dust, and a joint that lines up with a counter or a handrail is less likely to collect a shadow line. Those small choices make a wall that ages well.
Cutouts, hoisting order, and the check after fixing
Cutout position in Arabescato Corchia wall panels is a setting-out problem before it is a stone problem, and the socket centres have to be agreed with the electrician. Once the socket and switch centres are fixed, they should be located on the same elevation as the seams, so the openings fall where the panel layout can accept them. I confirm the finished positions on site because a small shift in a socket can move a cutout off the seam grid entirely.
The hoisting order follows the pairing. Panels should be lifted in the sequence shown on the diagram, so a mirrored pair is set as a pair and each flow-matched piece meets the one drawn before it. Lifting a large panel is a handling decision as well as an installation one, so the route, the protection, and the fixings are checked while the pieces are still crated.
I keep the lifting plan with the elevation. A large panel has one route into the room and one safe orientation, and the diagram should show both, so the crew is not deciding the path when the slab is already on the sling. Where the opening is tight, I check the diagonal clearance of the panel against the door or the stair early rather than on the day of the lift.
After fixing, the wall is read as one composition. I view it from the main entry, from the seating position, and under both daylight and the installed light, then photograph the result against the approved elevation. A seam that looked fine on the floor can become the first thing the eye finds once the wall is upright and lit.
If the installed field differs from the elevation, the response is the same as anywhere else on a project. Photograph the condition and its location, pause any irreversible correction, and compare the site record with the approved drawing, the paired slab photos, and the finish sample. A calm comparison is more useful to the material than a quick patch.
The order also matters where pairs are split across a corner or a return. Lifting the wrong half first can force a mirrored pair to be reversed, so I mark the sequence on the crates as well as on the drawing, and check the orientation before the adhesive is mixed.
Record the pairing for the next trade
Arabescato Corchia wall panels are difficult to photograph once the wall is finished and almost impossible to reverse, so the record has to be made before and during the work. I keep the approved elevation, the numbered slab diagram, the finish sample, and the cutout setting-out together, so a later fitting or repair can see how the wall was built.
The numbered diagram is the most useful part of that record. It shows which slab sits where, which way each face is oriented, and where the mirror line falls, so a future trade can match the arrangement without guessing. When the diagram is simple enough to read at a glance, it is also more likely to be used.
Spare material belongs beside the record. Reserving a piece from the same slab for each exposed face makes a later repair possible without a visible join, and the diagrams tell the next team where that spare was taken from.
A short note on the finish belongs with the record as well. Whether the wall was polished, honed, or otherwise finished affects how it reflects light and how a future repair will read, and the same note tells the next trade which product and method were used.
I hand the record over with the care information rather than filing it away. When the client, the designer, and the fabricator hold the same drawing, an ordinary question about the wall is answered in minutes, and the surface is far less likely to be altered by guesswork.
Questions We Hear Before Release
1. Where should seams fall on an Arabescato Corchia wall panel field?
Align them with the architecture where possible, such as a pilaster, a doorway edge, or a counter line, and keep them off the sight line the room is built around.
2. When does a bookmatch work better than a flow match?
A bookmatch suits a feature wall that can hold symmetry; a flow match suits a long elevation or a corridor where mirrored repetition would add too much structure.
3. How does side light change a mirrored pair?
Strong side light can push one half into shadow and make the mirror read unevenly, so the pair should be viewed where it will hang, under the light the room will keep.
4. What should be planned before the panels are hoisted?
Confirm the substrate flatness, the fixing method, the panel sequence, and the lifting route while the pieces are still crated and the elevation is on hand.
5. When should switch and socket cutouts be located?
Before cutting. Set the openings out from the seam grid on the elevation, then confirm the finished centres on site so a small shift does not move a cutout off the pattern.
Quick-Reference Checklist
- Draw the wall at scale and mark every seam before cutting.
- Decide the pairing and number the slabs in hanging order.
- View the finish and the pair under the room’s real light.
- Locate switch and socket cutouts on the seam grid.
- Photograph the fixed wall from the main view and at seating height.
Final Conclusion
Arabescato Corchia wall panels are decided long before the first panel is lifted, in the seam positions and the pairing. MQ STONE keeps Arabescato Corchia wall panels tied to the elevation, the backing, and the light that will read the finished wall.
References
- Dimension Stone Design Manual, Natural Stone Institute.
- ASTM C503/C503M, Standard Specification for Marble Dimension Stone, ASTM International.
- Natural Stone Institute Resource Library, Natural Stone Institute.
- Kitchen & Bath Planning Guidelines, National Kitchen & Bath Association.
- Architectural Stone Guidance, Stone Federation Great Britain.
- Marble, Wikipedia.