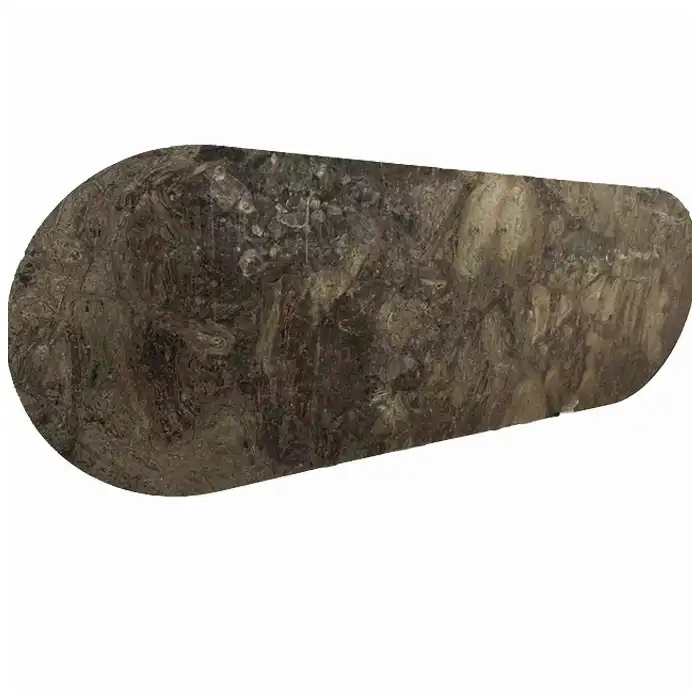
Pink Onyx Wall Panels: Bookmatch, Lightbox Depth, Joints, and Corner Returns
Then the backlight turns on. A soft rose field opens around a white calcite band, while the deeper amber layer becomes a shadow with a warm edge. At the center, two neighboring slabs meet and their lines fold outward like pages. The stone stops behaving like wall covering and begins behaving like light held inside geology.
Pink onyx wall panels can create that moment only when slab layout, illumination, support, joints, and service access are resolved together. A beautiful bookmatch can be ruined by a frame shadow. A technically even lightbox can flatten the mineral depth that made the slabs worth choosing.
The design task is balance. Preserve variation, control avoidable hot spots, keep panel identities traceable, and make the lighting system accessible after the wall is finished. True luxury is something you never get tired of looking at, but it also needs to survive maintenance.
Compose Pink Onyx Wall Panels from Full Slabs
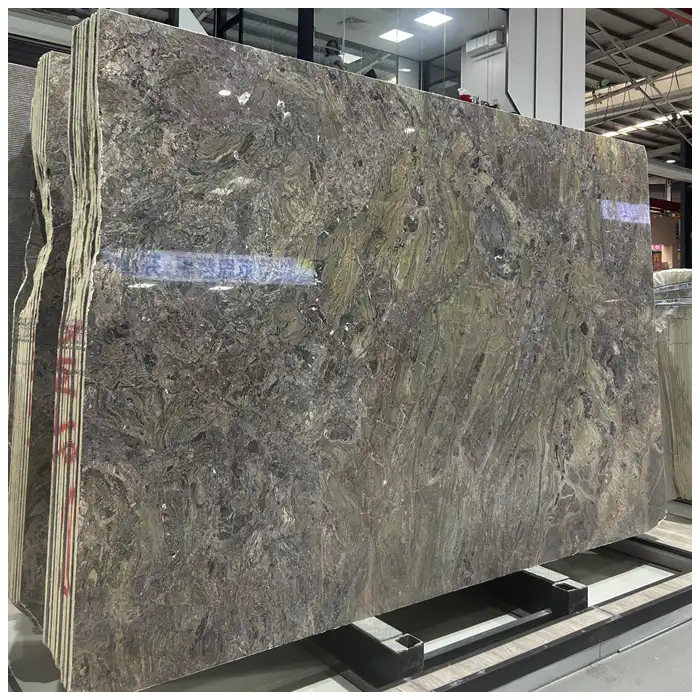
Begin with complete front-lit and backlit slab images in sequence. Pink onyx is calcite-rich banded stone formed by mineral deposition. Changes in mineral content, density, and growth create blush, ivory, amber, grey, rust, and white crystalline passages. The image belongs to the slab, not to a repeatable print file.
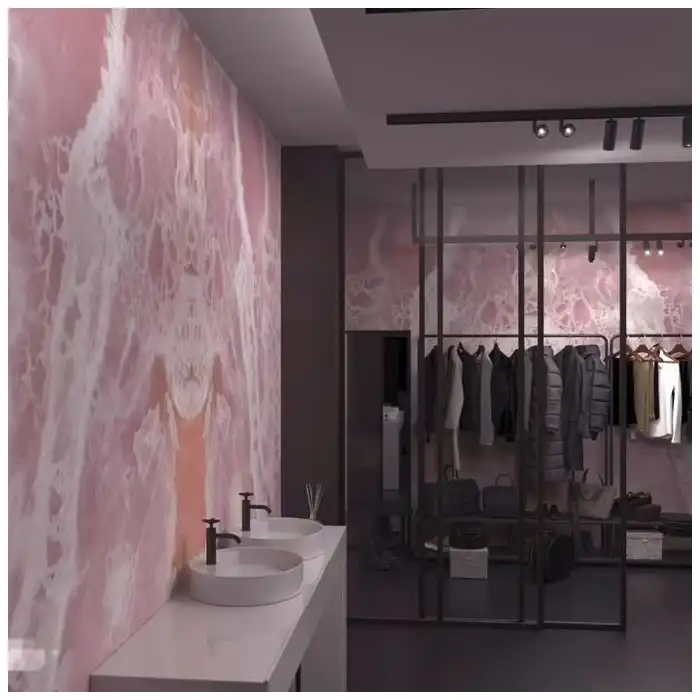
के लिए pink onyx wall panels, mark the wall dimensions, viewing distance, eye level, furniture, doors, corners, outlets, signage, shelves, and focal center. Then place proposed cuts across the slab images. The composition must be judged after joints and openings remove parts of the stone.
A bookmatch mirrors neighboring slab faces around a cut sequence. It can create a formal central image, but the result depends on slab cutting, polish, thickness, and the distance between consecutive faces. Natural variation prevents mathematical symmetry.
A flow match keeps mineral direction moving across panels without strict reflection. It often feels calmer on long walls and around corners. The veins will tell you which method suits them: some bands want to fold; others want to travel.
Random layout can work for small modules or deliberately varied compositions, yet it still needs approval. Random does not mean unobserved. Strong amber blocks, opaque grey zones, and bright white seams should not accumulate accidentally in one corner.
The Pink Onyx Marble Guide 2026 provides the broader material and application reference. The supplier evidence in Pink Onyx Slab Supplier: Color Range, Resin, Backlight Tests, and Full-Slab Approval should be complete before wall composition starts.
| Wall decision | Material evidence | Assembly check | Visible risk |
|---|---|---|---|
| Bookmatch center | Sequenced neighboring faces under front and backlight | Joint width, level, frame, and source behind center | Dark seam divides the mirrored image |
| Flow-matched run | Direction and overlap map across several slabs | Panel sequence and crate order | One rotated panel reverses movement |
| Corner return | Selected edge zones and proposed continuation | Mitre, butt joint, frame, protection, and light spill | Bright edge or broken band at the corner |
| Service panel | Composition that can tolerate removable joint | Access, fasteners, repeatable alignment, wiring | Maintenance cut interrupts the focal field |
Keep the slab identity inside the design file
Every panel code links to slab ID, sequence position, cut orientation, front/back face, finish, backing, repair map, and wall location. The design image is not enough. If one panel breaks, the team needs to know which spare can preserve direction and light behavior.
Current गुलाबी गोमेद संगमरमर स्लैब can support the material search, while Pink Onyx Marble adds another product reference. The wall still belongs to the specific selected sequence.
Design Lightbox Depth, Source Spacing, and Diffusion
A lightbox has a source plane, air or assembly depth, diffuser, support frame, stone, wiring, ventilation, controls, and service access. The required depth depends on source type, spacing, output, diffuser, panel size, mineral transmission, and desired brightness. There is no universal cavity dimension.
Pink onyx wall panels should be tested with the proposed source and diffuser at several distances. Too little distance can reveal individual points or strips. More distance can improve blending but increases wall depth and may reduce brightness. A diffuser can soften hot spots but also change color and energy use.
Frame shadows need attention. Vertical supports behind bright stone can read as dark bars. Place supports behind naturally opaque zones, joints, or designed divisions where possible. Do not move structure casually; the responsible engineer must approve the support system.
Light color shifts the stone. Warm light enriches peach and amber. Cooler light brings pale pink, grey, and white forward. Dynamic white or dimming can create different scenes, but each scene should be tested on the actual slab composition.
Brightness is not the only goal. A wall that is too bright can lose mineral depth and dominate the room. Lower output may reveal more layering. Then daylight enters and the wall becomes a polished stone composition rather than a luminous screen. Design both states.
Provide ventilation and replacement access
Lighting equipment produces heat and eventually needs service. The design follows equipment manufacturer requirements and electrical codes for ventilation, drivers, wiring, clearances, and access. A completely sealed decorative wall can turn one failed driver into a demolition problem.
Access panels and removable stone need planned joints, fasteners, lifting methods, and safe handling. Locate them where composition can absorb the interruption. Record driver and source locations in the handover file.
The Hard-Won Lesson: Design the frame with the translucency map
A support frame drawn before the stone is selected can place a vertical member behind the brightest pale band. With the lights on, the frame becomes a dark stripe through the most luminous part of the composition. Moving the slab may break the bookmatch; moving the frame may change engineering. The conflict belongs in the mock-up, not the finished wall.
The Lesson: Overlay every structural member, light source, and access point on the approved front-lit and backlit slab map.
Plan Panel Thickness, Backing, Joints, and Corner Returns
Onyx can be used as solid stone or as a thinner stone layer in a tested composite assembly. Thickness affects weight, transmission, edge, machining, support, and breakage risk. The design team and fabricator approve the actual build-up; visual preference alone cannot select it.
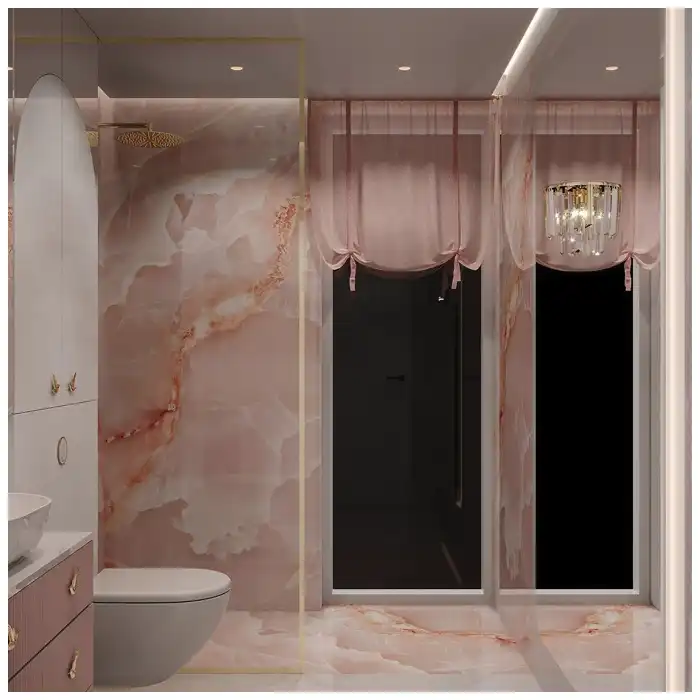
के लिए pink onyx wall panels, backing can include resin, mesh, fiberglass, glass, or another support depending on fabrication. Each layer changes light and bonding. Back photographs and representative samples show what exists before the adhesive and frame are specified.
Joint width and treatment affect the composition. A dark open joint may sharpen the panel grid. A pale filled joint may soften it but create a different line under backlight. Mitred or butt corners change edge glow. Test the joint with the lights on and off.
Inside corners often hide light or double its reflection. Outside corners expose fragile edges and changing transmission. The return piece should come from a deliberate slab zone. A strong band that seems continuous on a flat elevation may break when folded in space.
Openings for outlets, switches, signage, shelves, and grilles need rounded internal corners, support, edge finish, wiring coordination, and light control. An opening can remove the pale band that balanced the panel. Draw it before approving the composition.
Resin and backing details from Reading Onyx Slab Resin and Fiberglass Backing before Cutting should be read beside the panel design. The wall system must accept the stone that exists, not an idealized untreated slab.
Protect edges from daily contact
A hotel lobby or retail wall may meet luggage, cleaning equipment, carts, hands, and furniture. Edge guards, reveals, base details, or set-backs can protect vulnerable corners without hiding the stone. The detail should feel architectural, not added after damage.
At floor level, cleaning water and impact need attention. At ceiling level, access and thermal movement matter. Joints and supports follow the engineered design and relevant installation standards.
Engineer Support, Anchoring, Wiring, and Service
A backlit wall is heavier and more complex than the face suggests. The support system carries stone or composite panels, allows installation tolerances, manages joints, and provides safe access. Panel size, thickness, weight, orientation, substrate, height, public exposure, and seismic or code conditions affect the engineering.
Pink onyx wall panels may use mechanical support, frames, tested adhesive assemblies, or combined systems as designed. The onyx supplier provides material and fabrication information. The responsible engineer and installation system designer establish loads, fixings, movement, safety, and compatibility.
Wiring routes cannot collide with anchors. Drivers need reachable positions. Diffusers need support and replacement paths. The frame needs tolerances for the actual slab thickness and panel size. Shop drawings should show all layers in plan, elevation, and section.
Movement joints in the building should carry through the finish where required. The stone grid should respond to substrate and structural movement rather than hiding every joint behind a decorative composition.
A spare strategy considers both material and light. Keep compatible panel material, finish records, source specifications, diffuser information, driver data, and color settings. Replacing only the stone may not recreate the original appearance if the lighting components have changed.
Make the wall safe to inspect
Maintenance staff need procedures for isolation, access, panel removal, lifting, storage, and reinstallation. Heavy or fragile panels should not rely on guesswork. The handover drawings identify service panels and approved tools.
If flicker, dark zones, movement, cracking, heat, or moisture appears, isolate the affected system as required, document the wall with lights on and off, and contact the responsible specialists. Do not remove panels without the support and lifting plan.
Test the Complete Wall Assembly before Production
A credible mock-up includes representative stone composition, final finish, thickness, backing, frame, diffuser, light source, cavity depth, joint, edge, corner, controls, ventilation, and access. A loose slab held in front of a lamp is a material test, not a wall approval.
के लिए pink onyx wall panels, review from the intended room distance and from close range. Turn the lights on, off, and to planned dimming scenes. Add ambient room light. Observe frame shadows, hot spots, color shift, repairs, joints, edge glow, and reflections.
Let the assembly operate long enough for the team to assess heat and service behavior under the equipment requirements. Confirm that drivers and access remain reachable. Photograph the approved settings and record source, diffuser, distance, controls, and panel IDs.
The first production panel set receives front and back inspection, dimensions, finish, repairs, labels, light testing, and packing approval. Sequence controls crate order. The site should not have to unpack the entire wall to find the first panel.
If the installed wall shows uneven light, photograph it from the approved viewing points with ambient conditions recorded. Pause adjustments. Compare panel map, frame, source spacing, diffuser, drivers, backing, thickness, and installation. Contact the supplier and lighting or system team before grinding stone or moving components.
Quick-Reference Checklist for a Pink Onyx Wall
- Approve the full slab sequence under front light and controlled backlight before panel layout.
- Overlay wall openings, joints, corners, frames, light sources, diffusers, wiring, and access on the slab map.
- Test bookmatch or flow-match composition after real joint widths and cutouts are shown.
- Build a representative assembly with final thickness, backing, cavity, diffuser, source, edge, and support.
- Review the wall with lights on, off, dimmed, and combined with ambient room light.
- Preserve panel sequence and inspection identity through packing and installation.
- Provide safe service, isolation, removal, driver, spare, and reinstallation records at handover.
How the Stone and Light Become One Wall
Why uniform brightness is not the only goal
Onyx has mineral depth because some bands transmit more than others. Diffusion should control distracting equipment patterns while preserving the natural map. A completely flat glow can remove the visual reason for choosing onyx.
What the mock-up must prove
The mock-up proves composition, color, transmission, frame shadows, source spacing, diffuser, joints, edges, corners, support, ventilation, access, controls, and viewing distance. Approval needs the full assembly, not separate stone and lighting samples.
When the composition should change
Change it when a joint divides the focal image, a frame shadows a bright band, a repair dominates under light, an opening removes the balancing color, a corner breaks movement, or the service panel cannot be integrated safely.
Frequently Asked Questions
1. Should pink onyx wall panels be bookmatched?
Bookmatching can create a formal focal image, but it is not mandatory. Flow matching may suit long walls or corners better. Compare full slab sequence, joints, openings, backlight, and room composition before choosing.
2. How deep should an onyx lightbox be?
There is no universal depth. Source type, spacing, diffuser, output, panel transmission, frame, desired brightness, ventilation, and access determine the assembly. Test several distances with the actual stone and proposed equipment.
3. Why do dark lines appear behind backlit onyx?
Possible causes include frame members, wiring, low-transmission mineral bands, resin, repairs, fiberglass, thickness variation, source gaps, or diffuser problems. Compare lights-on and lights-off evidence with the approved translucency map and wall sections.
4. Can onyx panels turn an outside corner?
Yes, with a designed corner detail, selected slab zones, protected edges, compatible support, joint control, light management, and engineering. Test the actual return because edge transmission and vein continuation change in three dimensions.
5. What should happen if one installed panel glows differently?
Photograph the full wall and panel with lights on and off, record ambient conditions and panel code, and pause modification. Compare stone thickness, backing, repairs, frame, source, diffuser, wiring, and installation records before replacing components.
Final Conclusion
Pink onyx wall panels become memorable when slab sequence, natural translucency, bookmatch or flow, lightbox, support, joints, corners, service, and spares are resolved as one composition. This stone has been waiting for millions of years to meet the light; MQ STONE would rather let that mineral rhythm remain visible than bury it behind an untested wall system.
References
- Dimension Stone Design Manual, Natural Stone Institute.
- ASTM C119 Standard Terminology Relating to Dimension Stone, ASTM International.
- Lighting Handbook, Illuminating Engineering Society.
- BS 8298 Code of Practice for Natural Stone Cladding and Lining, British Standards Institution.
- Slab Handling and Safety Guidance, Natural Stone Institute.
- Material and Craft Programme, Maison&Objet Paris 2026.
- Onyx marble, Wikipedia, English edition.