Arabescato Corchia Kitchen Island: How to Place the Vein Before Cutting
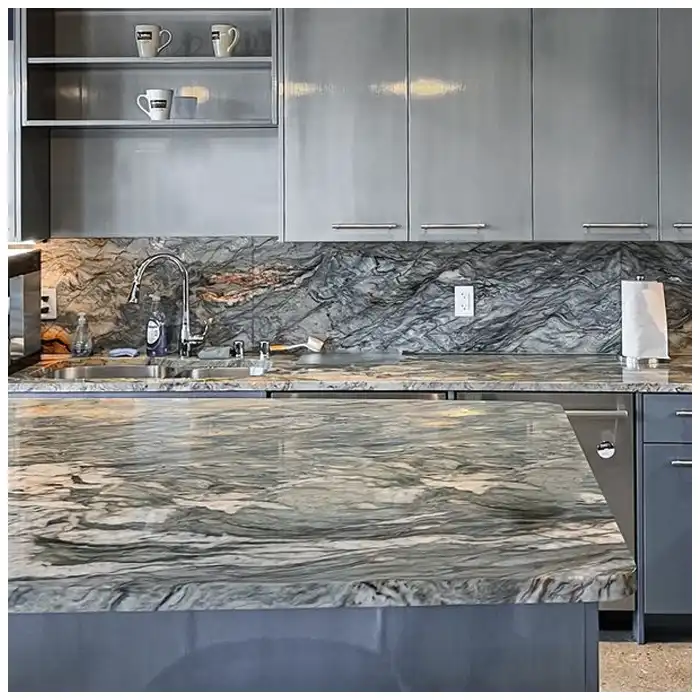
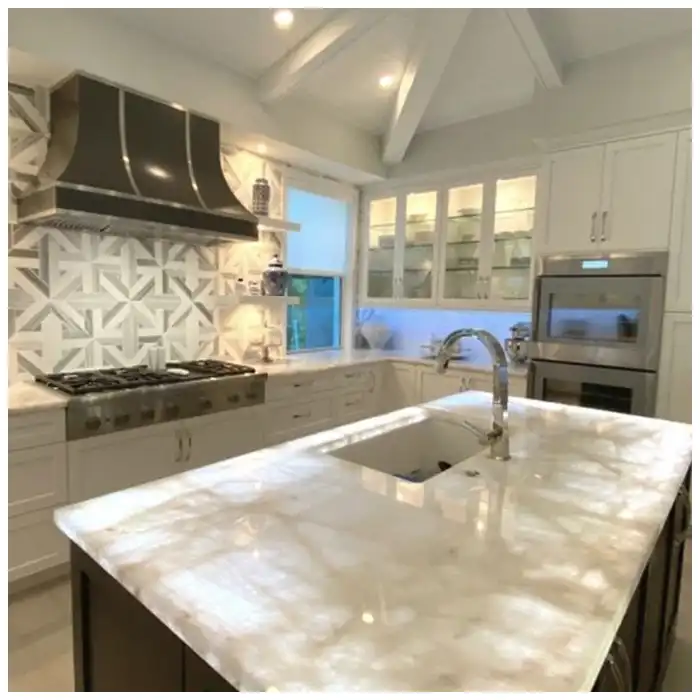
An island is a slab that has been edited. The sink removes one passage, the hob removes another, the waterfall ends turn the drawing down the sides, and every edit changes what the remaining face says. I start from the full slab, move the cut-out frame into position, and compare the composition before and after each opening removes its area.
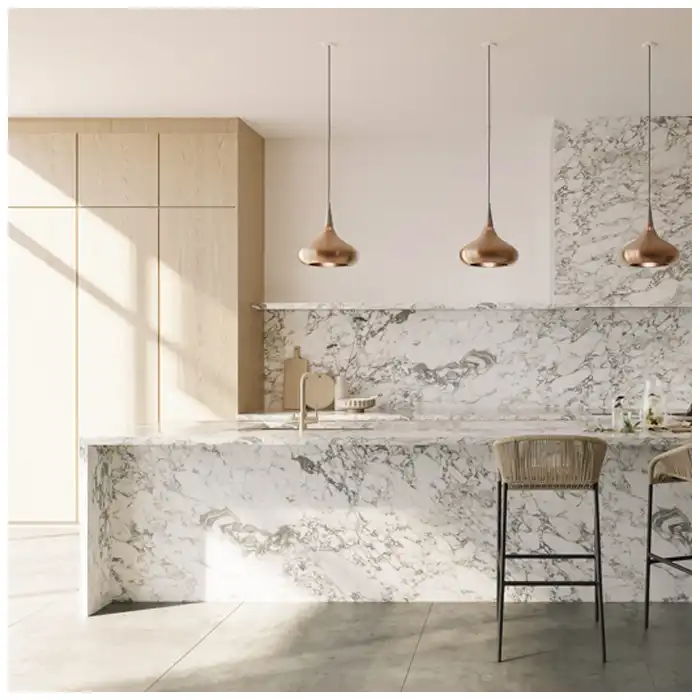
That comparison is why I treat an Arabescato Corchia kitchen layout as composition before yield. I stand at the kitchen entrance, walk to the seating side, lower my eye to the edge, and trace what each opening and return will do to the stone before the saw starts.
The vein layout must survive two very different viewpoints: the standing one across the room and the seated one at the counter. Each height reads another part of the face, and a crop that works from one will often fail from the other.
Decide the Principal Face of the Arabescato Corchia Kitchen Island
The principal face is the one seen from the kitchen entrance and the seating side, and every other decision follows it. I draw the finished island outline on the complete slab at full scale, add the edge build-up and the underside fabrication zones, then walk between the entrance and the counter the way a person will move in the room.
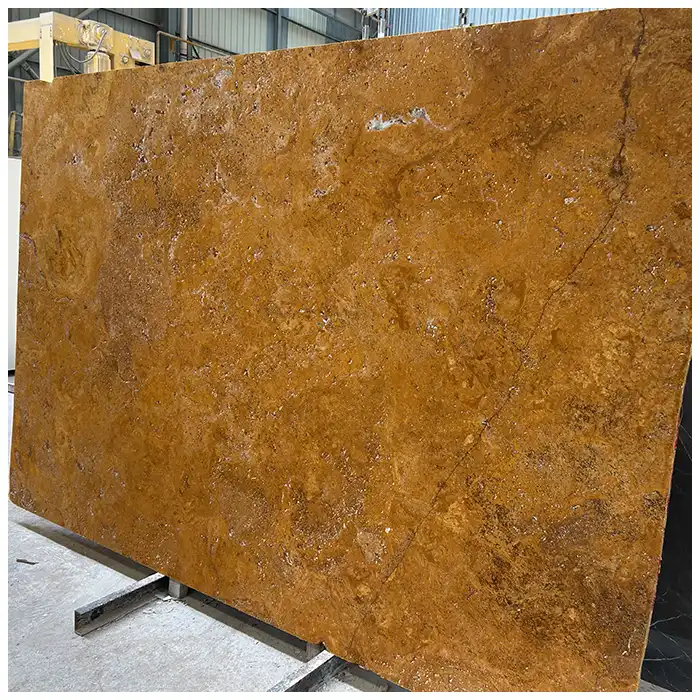
From a stool, the eye meets the outer third of the panel and the edge profile; standing, the whole face and the sink zone enter the view. I check both heights before the crop is fixed, because a layout approved only at standing height can hide a weak composition at the counter. The current 아라베스카토 코르키아 대리석 석판 are read this way before one is reserved for the island.
Islands also change the light on their own faces. The face nearest the window reads differently from the face under the pendants, so I walk each side with the actual fixtures in mind before the principal face is chosen; a layout that looks balanced from the entrance can fail at the breakfast stool.
Place Sink and Hob Openings with the Vein
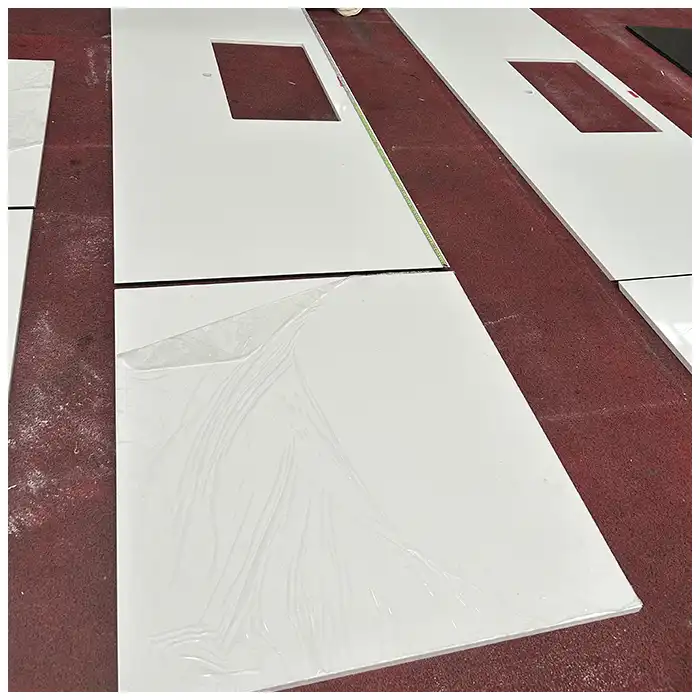
Openings remove stone, so the vein layout is drawn with the final sink model, hob model, tap holes, and accessories already known. I move the cut-out frame across the slab image and watch whether the strongest movement survives on the seating side or disappears into the opening; a charcoal band that crosses the sink cleanly reads differently from one that ends half-cut at the rim.
I test several opening positions and keep the layout that protects the principal line, not the one that merely fits the template. The cabinet and appliance dimensions come from the production drawings, because a layout drawn around the wrong sink leaves no room to recover once the stone is cut.
The same cut-out test is repeated for the hob and the accessories. A hob placed beside a strong vein can push the drawing out of the remaining field, while a tap hole may land on a repaired line; I move each opening across the image and compare what the face gains and loses at every position. For an Arabescato Corchia kitchen the safest crop is usually the one that protects the seating-side movement, even when another position would yield a larger offcut.
Protect Bridges, Corners, and Drilled Zones
After the openings, I map what remains: the bridge behind the sink, the strip between hob and edge, the corners, and any drilled or machined zone. Each feature is recorded with its condition, because an open feature, a healed one, a resin-filled repair, and a fissure carry different risk under cutting and daily use.
Stress around openings, narrow bridges, drilling, and reinforcement depends on the selected slab thickness, the actual feature condition, and the cabinet structure. Those judgements belong to the project engineer and the fabricator working from the chosen material and the cabinet drawings, following accepted countertop fabrication practice rather than a general rule. I keep my composition notes on the same layout so the safety review happens on the real geometry.
Bridge and corner geometry is recorded with dimensions on the layout so the engineer and the fabricator can verify the actual numbers against the cabinet drawing. That record travels with the slab into the workshop, and no bridge width or hole position changes without reopening the review, because the composition map and the safety review share the same geometry.
Continue the Drawing across Waterfall Ends
A waterfall end is a continuation of the top’s drawing, not a leftover strip. I select the end face together with the top from companion material in the same block, comparing the current Arabescato Corchia marble faces before any face is reserved, and I lay out the mitre so the vein continues around the corner instead of doubling a dark line at the edge.
For an Arabescato Corchia kitchen, the waterfall face is part of the principal approval rather than a separate decision, because the eye meets the corner from the entrance and again from every seat around the island.
The finished dimension changes at cutting and polishing: kerf, edge build-up, and the mitre all consume or alter the pattern. I draw the seam and the end elevations over the actual faces before approving, then view the corner from the entrance and from close range, because the corner carries both the drawing and the daily touch. The wider guidance in How to Choose Statement Slabs for Countertops, Walls, and Furniture covers the same discipline for other stone objects.
An island that receives daily touch benefits from an edge that is comfortable as well as continuous. I run a hand along the mock-up corner and view the waterfall from counter height, because a profile that photographs well can still catch the hip or the hand at exactly the height where people stand.
Decide Joints, Thickness, and Edge Build-Up
A long island may need a joint because of slab size, transport, access, structure, or fabrication limits. I place that seam from the room and support plan, in a passage where the drawing already pauses, rather than letting the preferred crop decide where the break lands.
Thickness and edge build-up change both the look and the reach. A solid thick edge shows the vein through the full depth; a built-up edge introduces a return seam that needs its own pattern plan. The fabricator confirms which build-up the selected material and the cabinet support allow before the drawing is final.
The seam record names the intended gap, the filler plan, and the polishing step, so the fabricator and the installer agree on what the finished joint should look like before the pieces are cut. A seam decided for the first time at installation is a seam decided too late.
Coordinate Support, Transport, and Access
Rails, brackets, cabinet dividers, and fixing access all sit beneath the stone, and none should force a late change to the crop. I mark the support zones on the same layout as the movement map and keep drilling and adhesive work away from unsuitable repaired areas as directed by the fabricator. Where the project requires structural verification, a qualified engineer or the fabricator reviews and approves the support and lifting plan against the actual slab and cabinet drawings before cutting begins. The approval record lists the slab identification, the rodding or bracket layout, the fixing positions and the date the plan was checked, so the fabrication file carries the same evidence the installer will need on site.
Support details also protect the visible face. Fixing points and brackets are positioned from the underside drawing so the top carries the full movement without a late compromise, and service access is coordinated with the stone layout rather than discovered after installation.
Door widths, tight turns, and the route from the truck to the counter belong to the plan before cutting. A waterfall end that cannot pass through the building in finished form needs a design answer early, and the delivery crew should never be the first people to discover that the island cannot enter the room. The wider material, fabrication, and handover conditions stay together on the Luxury Natural Stone Slabs Guide, which I open beside the layout whenever the drawing changes.
Inspect the Island under Standing and Seated Light
Pendant light moves across a polished top as people walk past, and the reflection changes with viewing height. I walk the island, sit at the counter, and switch the pendants on and off before approving the finish; a honed sample may quiet the glare while reducing the crystal depth in the pale passages, and that trade-off belongs to the room, not to the sample tray.
Sign-off happens on the real island layout: slab numbers, orientation, opening positions, waterfall and edge strips, and the reserved service offcut all belong to one record. If the kitchen layout changes after approval, cutting stops, the new condition is photographed, and the cabinet, stone, support, and opening records are reconciled before a new layout is released.
The record closes with the offcut. A service piece from the approved block carries slab ID, orientation, finish, thickness, and vein family, so a later repair or addition can be matched from the record instead of guessed from a photograph. That offcut belongs to the acceptance file for an Arabescato Corchia kitchen island rather than to anonymous storage.
| Decision point | Evidence to inspect | Release condition |
|---|---|---|
| Main face | Position of visual rest and strongest movement | Full-scale crop from the principal approach |
| Openings | What remains after sink, hob, and holes are removed | Templates, bridge widths, and feature map |
| Waterfalls | Whether the direction continues, turns, or stops | Paired top and end elevations with seam lines |
| Edges and joints | Where veins break, repeat, or become touchable | Mitre or solid-edge mock-up and joint overlay |
| 지원 | Where rails, brackets, and fixings can sit | Coordinated cabinet, stone, and support drawing |
The Hard-Won Lesson: Do not choose the waterfall strip after cutting the top
The main face can look resolved until a leftover strip is offered for the waterfall. Its vein runs at another angle, its white field starts at the wrong height, and the mitre doubles a dark line along the corner, so the end becomes louder than the entire island. Selecting the top, the exposed edge, and the waterfall faces together prevents that collision.
The Lesson: Lay out the top, exposed edge, and waterfall faces together on companion material.
The acceptance file for Arabescato Corchia kitchen pairs the movement map with the scaled crop: one fixes the approved composition, the other shows how the decision reached production or installation.
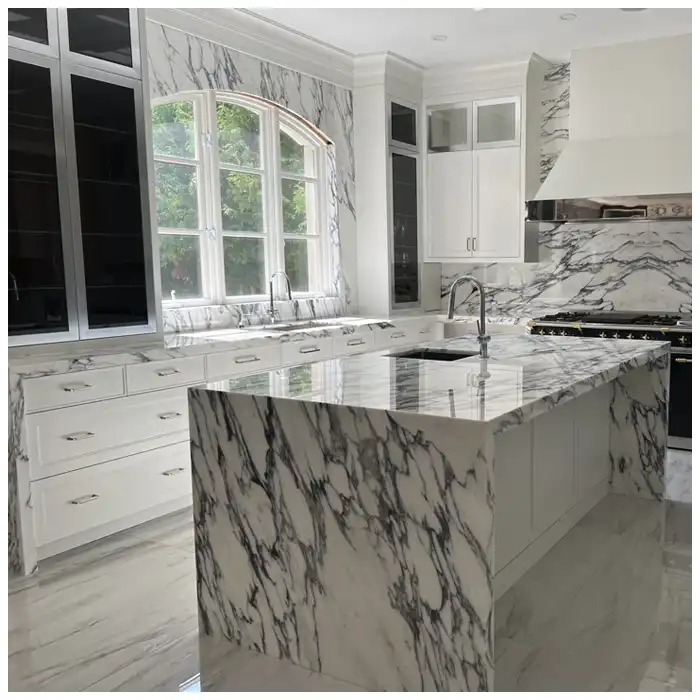
When the Slab Becomes an Island You Walk Around
Every side has a different distance
The entrance reads the broad composition, the seating side brings the edge close, and the working side exposes openings, joints, and daily wear. I approve each view separately because no single photograph of the island tells the whole story.
Openings edit the geology
Sink and hob templates remove selected passages and change how the remaining field reads. Stress around bridges, corners, holes, and support transitions is resolved by the engineer and fabricator from the actual slab and cabinet information, and the composition map rides on the same drawing they approve.
Support belongs in the visual plan
Rails, brackets, steel, cabinet dividers, and fixing access should protect the crop rather than forcing late changes to it. Before release I return to Arabescato Corchia kitchen with the full-face study and the reserved-offcut map open together, so the visible result and the technical record stay connected.
Frequently Asked Questions
1. Is Arabescato Corchia suitable for a kitchen island?
It can be when the selected slab, finish, openings, edge, support, sealing, cleaning, repair condition, and expected use are evaluated for the specific project.
2. Should the sink cut through a strong vein?
Avoid automatic rules. Inspect the feature condition, bridge widths, reinforcement, drilling, support, and remaining composition before accepting any crossing.
3. How do you match a waterfall end?
Lay out the end with the main face using actual slab images, seam lines, edge losses, thickness, orientation, and the principal viewing direction.
4. Is polished or honed better for an island?
Polish can deepen movement and reflection; hone softens both. Compare current samples for appearance, touch, maintenance, and project use under the intended lighting.
5. What should I do if the Arabescato Corchia kitchen layout changes on site?
Stop cutting, photograph the full slab and revised condition, then coordinate the cabinet, stone, support, opening, and approved crop records before releasing a new layout.
Quick-Reference Checklist for Arabescato Corchia kitchen
- Mark the principal viewing face.
- Place final sink and hob templates.
- Measure bridges holes and corners.
- Map veins repairs and fissures.
- Lay out waterfall and edge strips together.
- Coordinate cabinet and structural support.
- Keep one compatible service offcut.
Final Conclusion
A convincing island preserves the relationship between white space, mineral movement, openings, bridges, waterfalls, edges, joints, support, and the changing viewpoints around the room. For Arabescato Corchia kitchen, the accepted result must remain tied to the drawings, samples, measurements, and application records.
MQ STONE would rather move the crop once more than let the sink erase the reason this slab was chosen, because the vein was placed before the saw for a reason.
References
- 마블, Wikipedia.
- ASTM C119 Standard Terminology Relating to Dimension Stone, ASTM International
- ASTM C503/C503M Standard Specification for Marble Dimension Stone, ASTM International
- ASTM C1721 Standard Guide for Petrographic Examination of Dimension Stone, ASTM International
- Dimension Stone Design Manual, Natural Stone Institute
- Residential Stone Countertop Installation Technical Module, Natural Stone Institute
- Care and Cleaning of Natural Stone, Natural Stone Institute.