Reading Onyx Slab Resin and Fiberglass Backing before Cutting
Turn a translucent onyx slab around and the quiet glow becomes a technical map. Resin catches light at fissures. Fiberglass crosses the reverse in a faint grid. Patches and filled openings explain shadows that the polished face cannot. I inspect onyx slab resin and fiberglass backing before choosing a cut line.
I neither remove every treatment nor accept it blindly. The project needs to know what is present, why it is present, how it changes transmission, and whether the proposed adhesive, support, edge, cutout, and lighting assembly have been tested with it.
Map Onyx Slab Resin and Fiberglass Backing before Layout
I photograph the reverse square to the slab with the ID and scale visible. Then I trace mesh, resin-rich zones, patches, unbacked margins, fissures, voids, repairs, and any area the supplier marks for special handling.
Onyx Slabs in Two Kinds of Light: What the Face Reveals before Fabrication brings the wider selection method into one record. Resin and backing demand separate attention because treatment can become part of the image once light passes through the face.
Fiberglass is a broad material family; the specific mesh, resin, application, and compatibility used on one slab still need project evidence. A general definition cannot approve a bonding system.
The reverse map belongs under the cutting overlay
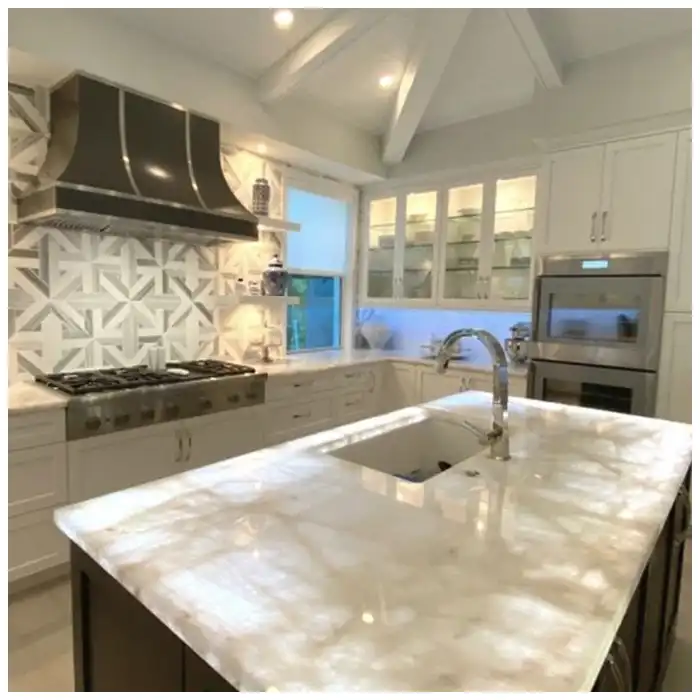
A ホワイトオニキス face may transmit enough light to reveal a mesh grid or resin edge that remains invisible on a denser material. I place panel joints, holes, edge strips, and support zones over the reverse map before nesting.
Translucent stone backing may help handling, but it is not automatically the final installation interface. The responsible stone, adhesive, fixing, and design parties decide whether it remains, is locally prepared, or requires another approved method.
Separate Natural Fissures, Resin, Fill, and New Damage
Onyx can contain natural banding, crystalline openings, fissures, and deposited voids. Processing may add resin or fill. New chips or cracks can appear later. I label these conditions separately instead of calling every line either natural or repaired.
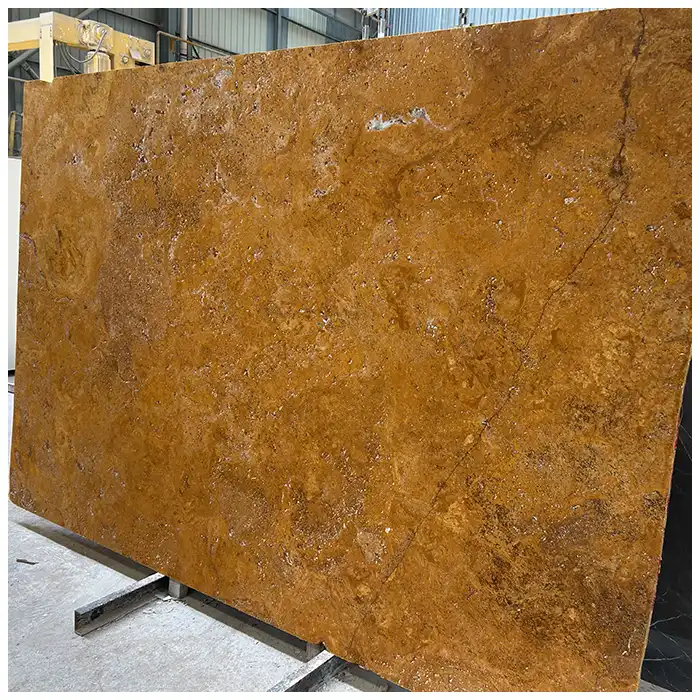
Onyx resin treatment can deepen color, add gloss, bridge a fissure, fill a void, or create a locally opaque area. I inspect the face, reverse, and transmitted-light response. A resin line that looks quiet from the front can flare amber when lit.
A ピンク・オニキス・スラブ can amplify warm resin tones. The treatment may blend into coral bands under one source and become a hard orange line under another. The actual source color belongs in the trial.
| Treatment or interface | Evidence to record | Transmitted-light question | Fabrication question |
|---|---|---|---|
| Surface resin | Extent, sheen, color, filled features | Does it darken, warm, or flash? | Will polishing or cutting expose a boundary? |
| Fiberglass mesh | Grid size, coverage, resin carrier, termination | Is the grid visible through stone or diffuser? | How does it affect bonding and edge preparation? |
| Local patch | Position, size, material, front appearance | Does the patch become a shadow? | Can the crop move or must the patch remain? |
| Natural fissure | Face and reverse path, current condition | Does light exaggerate the line? | Does it intersect a cutout, edge, or support? |
| Adhesive trial | Product system, preparation, coverage, cure | Does the bond line change color or transmission? | Does it meet the specified assembly method? |
| Edge trial | Backing termination, resin, polish, profile | Does the edge glow or reveal construction? | Can the profile be produced and handled cleanly? |
The reverse photograph must survive every layout revision
Keep the numbered reverse map beside each updated cutting overlay. When a panel moves to improve the bookmatch, its cutout or edge may cross a backed fissure or patch that was outside the first crop. If the layout file shows only the polished face, the design team can solve the composition while creating a fabrication problem on the unseen side.
Revise the face and reverse overlays together whenever a panel, joint, edge, or opening moves.
Test the Complete Transmitted-Light Assembly
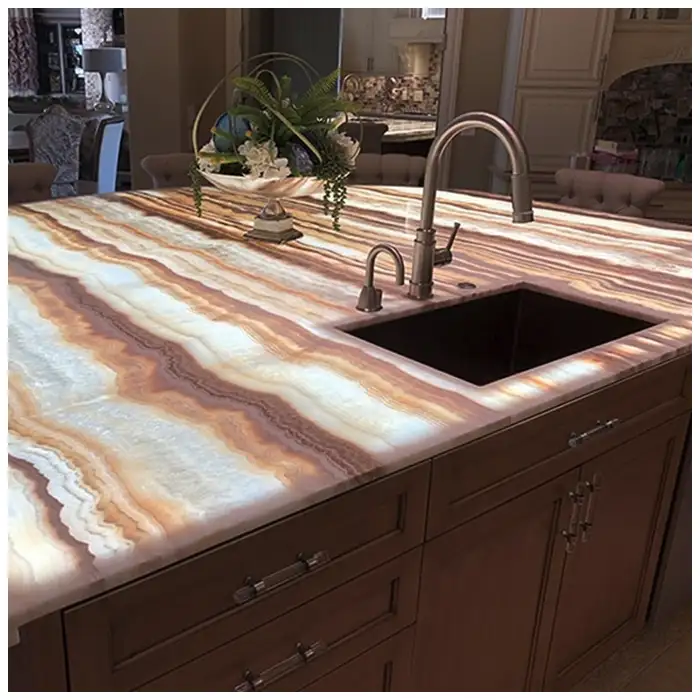
A light table can reveal treatment, but the final assembly may include backing, adhesive, support, cavity, diffuser, source, and joints. I build a representative sample with those layers and view it at the closest normal distance.
について Onyx Wall Panels: What to Confirm Before a Backlit Feature Wall Order carries the test into a maintainable wall. It is especially important when supports or mesh could cast repeatable shadows behind pale stone.
について onyx slab resin and fiberglass backing record includes the light off. Resin and mesh may affect surface flatness, polish, or color even without transmission. A glowing approval cannot excuse an unattractive daytime face.
Diffusion can soften a grid but cannot erase every interface
Increasing diffusion or distance may reduce visible source points and mesh shadows. It can also reduce brightness or change the cavity. The lighting designer and responsible technical team need to test the actual build-up rather than assuming one layer will hide another.
について How Lighting Changes Colorful Marble, Quartzite, and Onyx Slabs helps compare source direction and color. Here I hold camera exposure and controls steady so treatment differences are not disguised by automatic brightness changes.
Verify Onyx Adhesive Compatibility with the Treated Reverse
Onyx adhesive compatibility needs product-specific input and a representative trial. Resin or mesh can alter the contact surface. Some translucent assemblies may reveal adhesive color, trowel patterns, voids, or coverage differences.
I do not prescribe a universal adhesive in an article. The stone treatment supplier, adhesive manufacturer, fabricator, installer, and responsible project parties need to agree on preparation, test method, coverage, cure, environment, and acceptance.
A レインボー・オニキス・スラブ can hide one adhesive tone in a dense band and expose it in a pale field. The trial must cross representative zones rather than using the easiest corner.
Keep Cutouts, Edges, and Support away from Unexplained Treatment
Cutouts remove material and concentrate handling risk. I map holes and corners against fissures, resin edges, mesh termination, and patches. The fabricator decides reinforcement and cutting sequence for the actual panel.
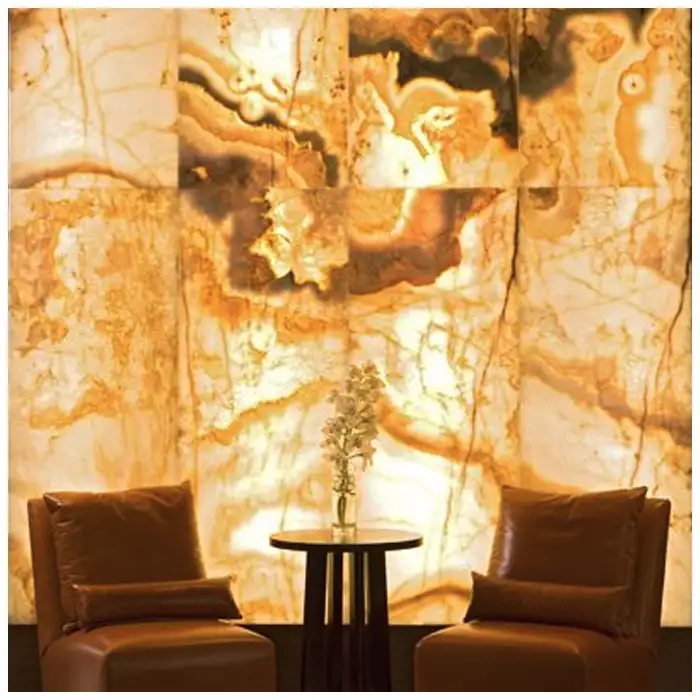
Onyx slab resin and fiberglass backing can become visible at a polished edge or miter. A full-scale corner shows whether the reverse treatment needs a controlled termination and whether the adhesive line changes the transmitted edge color.
Onyx Slabs in Two Kinds of Light: What the Face Reveals before Fabrication keeps treatment connected to application. A wall panel, bar, table, and decorative object have different touch, liquid, support, light, and service conditions.
Release the First Piece with Face, Reverse, and Light Evidence
The first production piece is photographed from the face and reverse, with edges, cutouts, codes, treatment map, and transmitted-light view. I compare it with the approved assembly sample before the rest of the group proceeds.
について Semi Precious Stone Slabs and Onyx Wall Panels: How I Compare Light, Color, and Depth helps when another translucent material is proposed. Agate and composite semi-precious panels can use different assembly logic; their treatment assumptions should not be transferred to onyx.
If backing or resin becomes visible after installation, photograph the whole panel with lighting on and off, then capture the reverse or assembly evidence available without destructive work. Stop related installation and adjustment. Compare slab maps, treatment, adhesive trial, diffuser, supports, source layout, and first-piece inspection with the supplier and responsible teams.
Release Onyx Slab Resin and Fiberglass Backing with the First Piece
The approved onyx slab resin and fiberglass backing map follows each cut piece. I keep treatment zones visible beside cutouts, joints, edges, and the planned support grid.
For lit panels, onyx slab resin and fiberglass backing is inspected from the normal room distance. I look for mesh grids and resin halos before moving close to study the cause.
The first production onyx slab resin and fiberglass backing check includes its final adhesive and diffuser. A loose sample cannot prove how all layers will interact.
A second onyx resin treatment review happens after edge fabrication. I compare gloss and color where the treated face, return, and polished profile meet.
The selected translucent stone backing must remain compatible with service access. I do not approve a light box that makes future inspection impossible without damaging the panel.
Frequently Asked Questions
1. Why are some onyx slabs backed with fiberglass mesh?
Mesh and resin may assist handling or stabilize fragile features during processing. The exact purpose and system vary. Record the treatment and assess how it affects transmission, bonding, edges, cutouts, support, and the final assembly.
2. Can fiberglass backing be seen through backlit onyx?
It can become visible through especially translucent zones or an unsuitable light-box build-up. Test the exact slab, mesh, resin, adhesive, diffuser, source distance, supports, and viewing position.
3. Should resin-treated onyx be rejected?
Not automatically. Treatment is common in fragile decorative stone, but it must be disclosed and mapped. Judge its color, gloss, transmission, stability, fabrication interfaces, and acceptance in the proposed application.
4. How is onyx slab resin and fiberglass backing tested before fabrication?
Use representative face and reverse maps, transmitted-light tests, an adhesive and assembly sample, full-scale edge or cutout trials, and a first production piece under the planned lighting and viewing conditions.
5. What should happen first if mesh or resin is visible after installation?
Photograph the complete panel with light on and off, stop related work, and compare slab maps, treatment records, adhesive trial, diffuser, supports, source layout, and first-piece evidence before adjusting or replacing anything.
Quick-Reference Onyx Treatment and Backing Checklist
- Photograph and code the entire polished face and treated reverse before layout.
- Map resin, mesh, patches, fissures, openings, unbacked margins, and repairs.
- Overlay panels, joints, cutouts, edge strips, and supports on both face and reverse maps.
- Test representative resin and mesh zones with the proposed adhesive and lighting assembly.
- Produce full-scale edge and cutout trials that show treatment termination and transmission.
- Release production only after the first piece matches face, reverse, and light controls.
Onyx Slabs in Two Kinds of Light: What the Face Reveals before Fabrication brings the wider selection method into one record. Resin and backing demand separate attention because treatment can become part of the image once light passes through the face.
Replace the second paragraph containing the unlinked bold core title before “Release the First Piece with Face, Reverse, and Light Evidence”.
Onyx Slabs in Two Kinds of Light: What the Face Reveals before Fabrication keeps treatment connected to application. A wall panel, bar, table, and decorative object have different touch, liquid, support, light, and service conditions.
Insert after the first paragraph under “Release the First Piece with Face, Reverse, and Light Evidence”.
Treatment also changes how color is judged on a translucent face. Following Green Onyx Slab Selection from Quiet Stone to Backlit Wall shows why a resin-rich cloud or mesh termination must be read against the final crop, viewing distance, and source color.
RELATED PROJECT GUIDES
Replace the entire existing Related Project Guides section with this code.
Related Onyx Project Guides
Connect the reverse-side treatment record with complete slab approval, color selection, wall construction, and controlled lighting.
Final Conclusion
Onyx slab resin and fiberglass backing belongs in the visible project record even when it sits behind the polished face. Map it, test it with light and adhesive, keep it away from unexplained cutouts and edges, and compare the first piece with the complete control.
MQ STONE turns the slab around before cutting because true luxury includes knowing what the glow is passing through.

References
- Dimension Stone Design Manual, Natural Stone Institute.
- Natural Stone Institute Technical Bulletins for Translucent Stone, Natural Stone Institute.
- ASTM C97 Standard Test Methods for Absorption and Bulk Specific Gravity of Dimension Stone, ASTM International.
- ASTM C880 Standard Test Method for Flexural Strength of Dimension Stone, ASTM International.
- IES Lighting Handbook, Illuminating Engineering Society.
- Stone Conservation: Principles and Practice, Getty Conservation Institute.
- Search Essentials: Creating Helpful, Reliable, People-First Content, Google Search Central.