Rosso Levanto Marble: White Veins, Finish Depth, and Placement in Luxury Interiors
When I place my palm on a dry Rosso Levanto face, the red never reads as one flat color. It moves from oxblood into plum and nearly black-green pockets, crossed by white calcite lines that look like light drawn through broken ground. A polished corner reflects the room; a honed sample absorbs it.
Rosso Levanto marble demands approval of the actual slab, finish, repair map, edge, and placement. The trade name alone cannot control the balance of dark ground, red breccia, white veining, or greenish mineral areas. Tables, walls, counters, and furniture fronts also meet light and touch differently.
The veins will tell you where the material opens and closes. The application tells us how much of that movement can remain visible.
What the Name Rosso Levanto Marble Does and Does Not Mean
Rosso Levanto is widely sold as marble, yet geological descriptions commonly place the material within serpentinite or brecciated serpentinite associated with white calcite veining. Commercial classification and geological classification serve different purposes. For design and fabrication, the project should use current source information, representative testing, and the actual slabs rather than transferring assumptions from an ordinary calcitic marble.
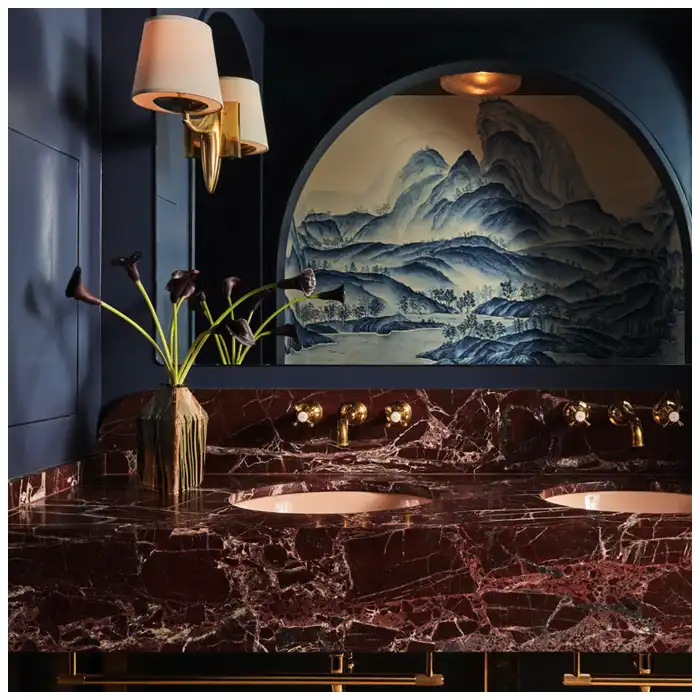
That distinction explains part of the face. Dark red and purplish fragments can sit beside green-black mineral zones, while calcite fills fractures as sharp white lines or broader clouds. The stone records deformation and mineral change rather than a controlled decorative recipe. Its drama comes from that tension.
The Rosso Levanto marble selected for a project needs numbered face and back photographs, measured dimensions, thickness, finish condition, repairs, resin or mesh treatment, open features, and edge quality. Product naming starts the conversation; current stock closes the material approval.
Ask for application-specific evidence
A wall panel, table top, wet counter, and floor do not ask the same questions. Request physical properties and tests relevant to the intended use and source. Confirm the fabricator’s experience with the selected material, especially where cutouts, narrow rails, mitred edges, anchors, or textured finishes are involved.
I do not turn geological language into a guarantee. A mineral name cannot replace a shop trial. This stone has been waiting for millions of years; our useful task is to learn how the chosen face responds to the proposed cutting and finish.
Approve the Red, White, and Dark Mineral Range at Full Face
Photograph every proposed slab square to the face, clean, dry, evenly lit, and identified. Include a scale. Then group the images by background depth, white-vein density, green-black mineral presence, breccia size, repairs, and usable dimensions. The range needs to represent both calm and active faces in the proposed order.
For Rosso Levanto marble, a cropped image often exaggerates either the red field or the white lines. The complete slab shows whether those features create a broad direction, a dense network, or isolated flashes. A table may need a balanced center, while a wall can use several faces to build a larger rhythm.
Mark areas where open features, repair, or mineral transitions affect the cut plan. Do not reject every line by appearance alone, and do not accept every line as natural variation. Its location within the finished piece changes the decision. A stable filled feature in a broad supported panel is different from one passing through a narrow cantilevered edge.
Compare Polish, Hone, and Texture on Representative Stone
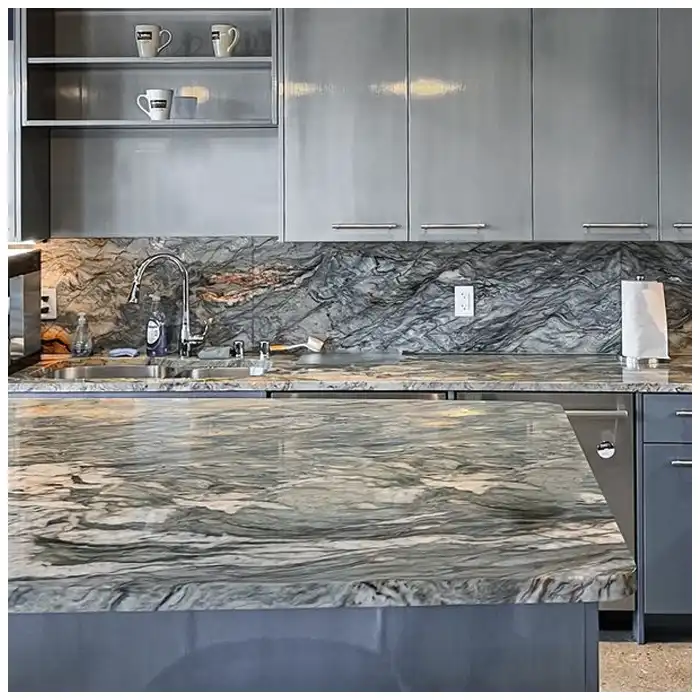
Polish gives the red field optical depth and turns white calcite into crisp reflected lines. It also reveals waviness, scratches, resin contrast, and local differences in mineral response. On a vertical wall, that mirror quality can make the face feel almost lacquered. On a dining table, overhead pendants and windows become part of the composition.
Honing lowers reflection. The red may become quieter and the green-black areas may appear more mineral and less glassy. White lines can soften, but they do not disappear. A honed surface often feels calmer under the hand, though it may make handling marks or oils visible in a different way.
Textured finishes need actual trials. Different minerals can abrade at different rates, so the surface relief may vary across a calcite line and darker ground. Record texture depth, tool sequence, direction, edge transition, cleaning method, and how the face appears after drying. The word leathered does not define one universal result.
| Selesai | Visual effect | Detail to test | Useful viewing condition |
|---|---|---|---|
| Digilap | Deep red, crisp white lines, strong reflection | Waviness, resin contrast, edge gloss | Frontal and raking light |
| Diasah | Quieter tone and softer reflection | Uniformity, handling marks, edge match | Diffuse light and normal touch |
| Textured trial | Relief follows mineral response | Depth, cleanability, line erosion | Side light after cleaning and drying |
The Hard-Won Lesson: A finish name is not a finish standard
Two pieces can both be labeled honed while one keeps a gentle satin reflection and the other reads dry and grey. Place them beneath side lighting on the same wall, and the difference becomes a stripe. The label agrees; the surfaces do not.
The Lesson: Sign a representative physical control and compare production clean, dry, and under fixed light.
Match the Surface to Walls, Tables, and Architectural Details
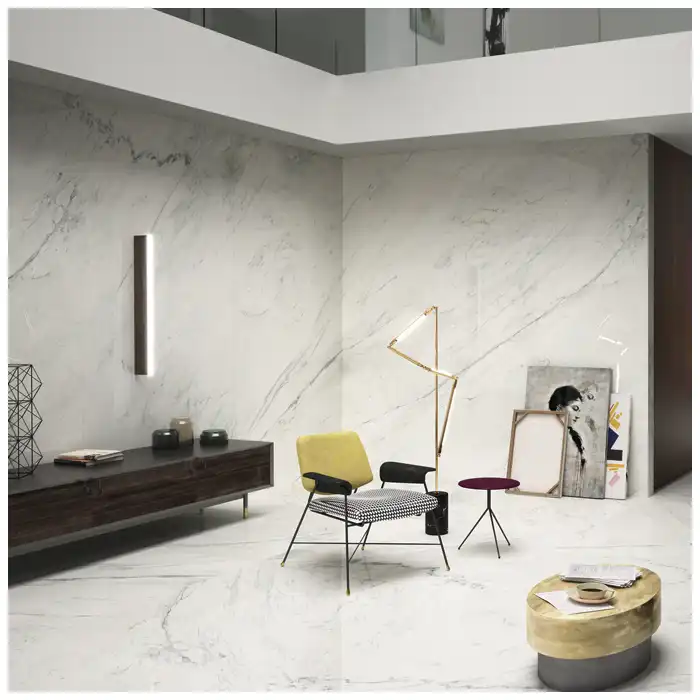
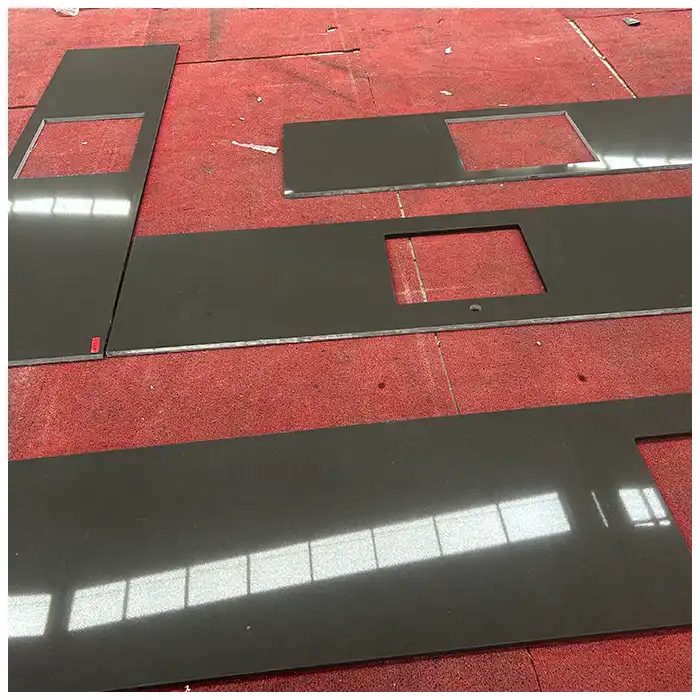
A feature wall is read at distance. First judge the distribution of red mass, white lines, dark pockets, joints, and corners. Then inspect finish and repairs close up. Bookmatching can create a formal center, but it may double a white vein into a shape that dominates the room. Flow matching or individually composed faces can be more convincing.
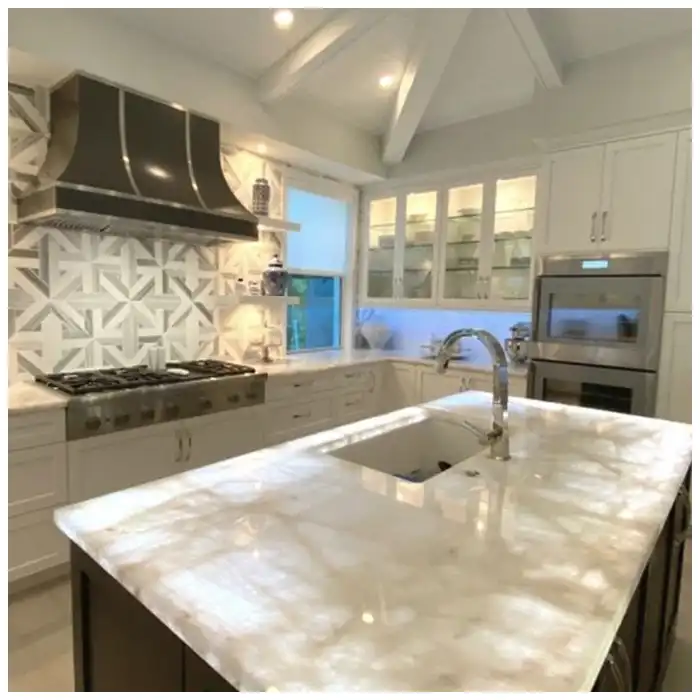
A table is touched, circled, and seen beneath changing objects. Overlay the top outline, edge, base, and any cutout on the slab. Keep an intentional center and avoid leaving all visual weight on one end. A round top crops the corners that may carry the richest movement; an oval preserves more direction but changes how the edge reads.
The Marble Rosso Levanto option can be studied beside the current slab set, while Rosso Levanto marble tile suits discussions where repetition, module, and joint rhythm matter. Each route still requires approval of actual material and finish for the project.
For floors, stairs, wet areas, fireplaces, or exterior conditions, confirm applicable technical and regulatory requirements with the project team. Slip resistance, substrate, movement, thermal exposure, chemicals, maintenance, anchorage, and local codes can govern the decision. Visual preference does not override an unsuitable assembly.
Let edges expose the finish honestly
A thick polished edge can turn white calcite lines around the perimeter like flashes of chalk. A honed edge may read lighter than the face if the process is not carried consistently. Mitred build-ups need source strips and orientation. Approve one finished corner or edge assembly from representative stone before repeating it.

True luxury is something you never get tired of looking at. That means the edge, underside, base, wall return, and joint cannot feel like afterthoughts around a dramatic face.
Carry Slab Approval through Fabrication and Inspection
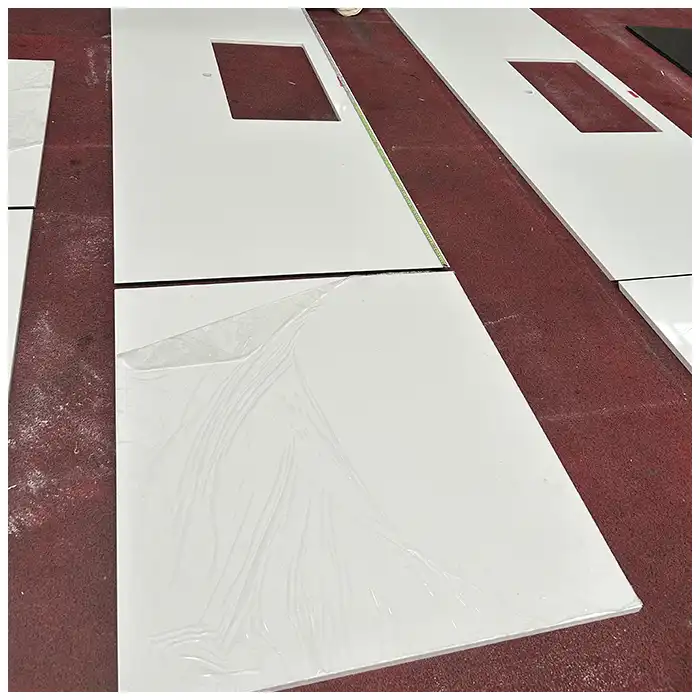
Put the finished outlines over numbered slabs at scale. Mark orientation, viewing face, joints, edges, holes, supports, repairs, and excluded zones. Record the approved overlay revision. If the design changes, issue an affected-piece list rather than sending a new drawing without explaining what moved.
For repeated work, choose a first piece that contains the actual finish, difficult edge, opening, or mineral transition. Measure it and inspect it under the intended light direction. The first piece answers questions that a sample cannot: how the dark ground cuts, how the white line meets the edge, and whether repair becomes more visible after finishing.
The Luxury Natural Stone Slabs Guide connects this sequence with broader material selection, finish, support, fabrication, and care. Natural stone deserves a process that protects its differences rather than hiding them until installation.
Dry-lay connected work with IDs and joint gaps visible. Compare color range, vein rhythm, finish, edge work, repairs, and orientation. Photograph complete elevations or furniture sets. Then preserve that sequence through labels, protection, packing records, and the installation drawing.
If installed pieces show different sheen, photograph the whole area and close details under stable light. Stop further treatment. Compare control samples, cleaning condition, fabrication records, piece IDs, and lighting before deciding whether the cause is finish variation, residue, handling, repair, or installation.
Keep a Material Library That the Project Can Actually Use
The approval set needs more than one polished chip. Retain a representative range sample, the signed finish control, an edge or corner trial, current slab photographs, and the written observations that matter to the design. Record whether samples came from the selected lot. A control from another block can explain a finish method but cannot promise the same mineral distribution.
For Rosso Levanto marble, photograph controls beside a neutral reference under diffuse and raking light. The first view compares red depth and white-vein contrast. The second reveals texture, waviness, filler, scratches, and edge transitions. Store the samples clean and identify any sealer or treatment, because an unknown coating can change both gloss and color.
Write care requirements after the finish trial
Cleaning instructions should follow the approved material and finish, the intended use, and the product manufacturer’s guidance. Test representative stone before adopting a chemical or pad. Record dilution, contact time, agitation, rinsing, and drying. The finish trial can reveal whether textured relief traps residue or whether a polished surface shows fine abrasion under direct light.
A table needs coasters, prompt spill response, suitable cleaners, and protection from impact at exposed edges. A wall needs a method that does not leave streaks or residues across large reflected areas. A floor or wet location may introduce additional slip, drainage, substrate, and local compliance questions. Keep those decisions application-specific.
Reserve stone for repairs with visual intent
Keep traceable offcuts from the same selected faces where later repairs or small replacements are plausible. Label them by slab, orientation, finish, and original area. A dark red fragment may repair one table edge convincingly but create a visible patch inside a quieter wall panel.
The veins will tell you whether an offcut can disappear into the existing movement. The repair method still needs a qualified fabricator, compatible materials, and an agreed appearance standard. Do not promise invisibility. Define whether the objective is structural stabilization, edge reconstruction, reduced visibility, or replacement.
Review later additions against the installed work
A later phase may use new stock with a different balance of red, white, and green-black areas. Compare complete current slabs with the installed room under similar light. Decide whether the new work must blend, deliberately contrast, or remain in a separate zone. Searching only for the same trade name can produce the least convincing result.
When Rosso Levanto marble is used across walls and furniture, preserve enough difference for each object to read clearly. A room filled with equally dense veining can lose hierarchy. Let one surface lead and give the others quieter mineral passages where the available slabs allow it.
Final records should include approved faces, allocations, finish and edge controls, first-piece results, dry-lay images, repairs, care instructions, and spare locations. They allow the material’s history to remain visible without turning every future question into guesswork.
Inspect underside and hidden edges before assembly as well. Mesh, resin, anchors, inserts, and base contact points can affect fabrication even when the visible face looks sound. Record any localized reinforcement and keep it clear of drilling or fixing zones. The object should arrive with its structural details as legible as its polished surface.
Quick-Reference Checklist for Rosso Levanto Approval
- Approve numbered complete slabs across the proposed red, white, and dark range.
- Map repairs, open features, mineral transitions, usable dimensions, and faces.
- Test each proposed finish on representative current material.
- Overlay walls, tables, openings, edges, supports, and viewing direction at scale.
- Approve a difficult first piece before repeated fabrication.
- Inspect connected work clean, dry, and under fixed light before packing.
Frequently Asked Questions
1. Is Rosso Levanto marble geologically the same as ordinary calcitic marble?
Not necessarily. It is commonly traded as marble, while geological descriptions often identify serpentinite or brecciated serpentinite with calcite veins. Use source-specific test data and trials.
2. Which finish keeps the deepest red?
Polish commonly deepens color and reflection, but the result depends on the actual mineral range and treatment. Compare representative polished and honed controls under project lighting.
3. Can every slab receive a leathered finish?
Do not assume so. Test texture depth, mineral response, line erosion, cleanability, edge transition, and appearance on current material before specifying repeated production.
4. Should a table and wall use the same finish?
They may, but the wall is judged at distance while the table is touched and viewed under closer light. Approve each application using its real viewing conditions.
5. What should happen when the installed finish looks inconsistent?
Photograph the complete area, stop further cleaning or refinishing, and compare control samples, lighting, piece IDs, fabrication records, and surface condition before choosing a response.
Final Conclusion
Rosso Levanto marble belongs to the full slab, mineral transitions, object, light, edge, touch, and production sample. This stone has been waiting for millions of years; I would rather spend one more hour turning it under real light than flatten its character into a finish label, and MQ STONE keeps that observation with the slab.
References
- Dimension Stone Design Manual, Natural Stone Institute.
- ASTM C503 Standard Specification for Marble Dimension Stone, ASTM International.
- Standard Guide for Selection, Design, and Installation of Dimension Stone, ASTM International.
- Serpentinization, Carbonation, and Metasomatism of Ultramafic Sequences in the Northern Apennine Ophiolite, Journal of Geophysical Research: Solid Earth.
- Natural Stone Institute Technical Guidance on Stone Finishes and Repair.
- Stone Furniture Support and Installation Documents Prepared by the Responsible Project Team.
- Approved Full-Slab Images, Finish Samples, Cut Overlays, and Inspection Records for the Selected Material.
- Marmar, Wikipedia, English edition.